Memory bears are some of the most meaningful sewing projects you can make. Rather than being just another soft toy, they’re created from garments that hold special memories - baby clothes, favourite outfits, or clothing from passed loved ones - transforming those fabrics into a keepsake that can be treasured for years to come.
They’re often made to celebrate milestones, preserve first outfits, or create something comforting from clothing that would otherwise sit unworn in a drawer. Every memory bear is completely unique, because it carries the colours, textures and stories of the garments it’s made from.
“What we once enjoyed and deeply loved we can never lose, for all that we love deeply becomes a part of us.”
Choosing a Pattern
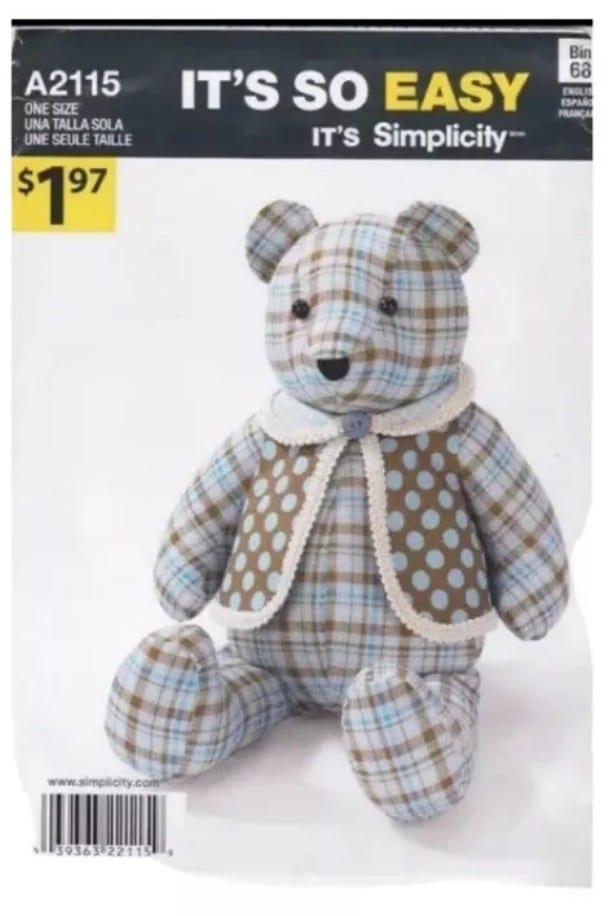
For a beginner-friendly memory bear, Simplicity A2115 is a great tried and tested choice. The pattern includes clear, easy-to-follow instructions and produces a classic teddy bear shape that works well with a wide variety of fabrics and garments.
A simple, well-written pattern is especially helpful when working with sentimental materials, where mistakes can be difficult to correct.
Think of this article as a companion to the Simplicity A2115 pattern. It highlights helpful tips, planning advice, and things to watch out for when creating a memory bear from meaningful garments.
Using Baby Clothes as Source Material
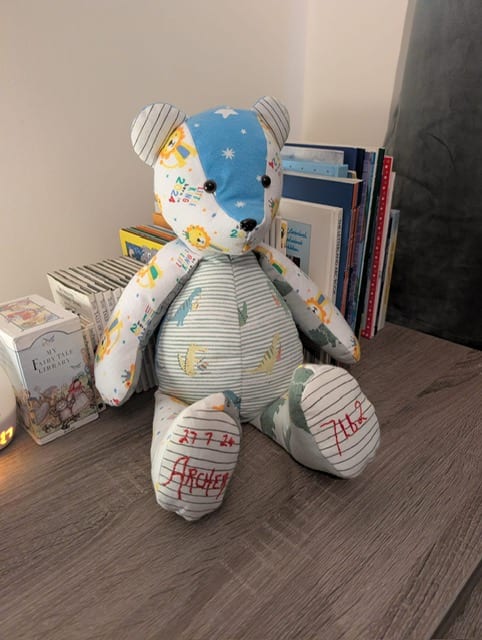
In this example, the bear was made from treasured babygrows - turning them into a keepsake full of early memories. Because most baby clothes are made from jersey or stretch fabrics, they need to be stabilised before construction begins. Without this step, the finished bear will struggle to hold its shape and distort over time.
A medium-to-heavy woven fusible interfacing was applied to the wrong side of each fabric panel. This adds structure and makes the material behave more like a stable woven fabric, which is much easier to sew accurately.
Planning Before Cutting
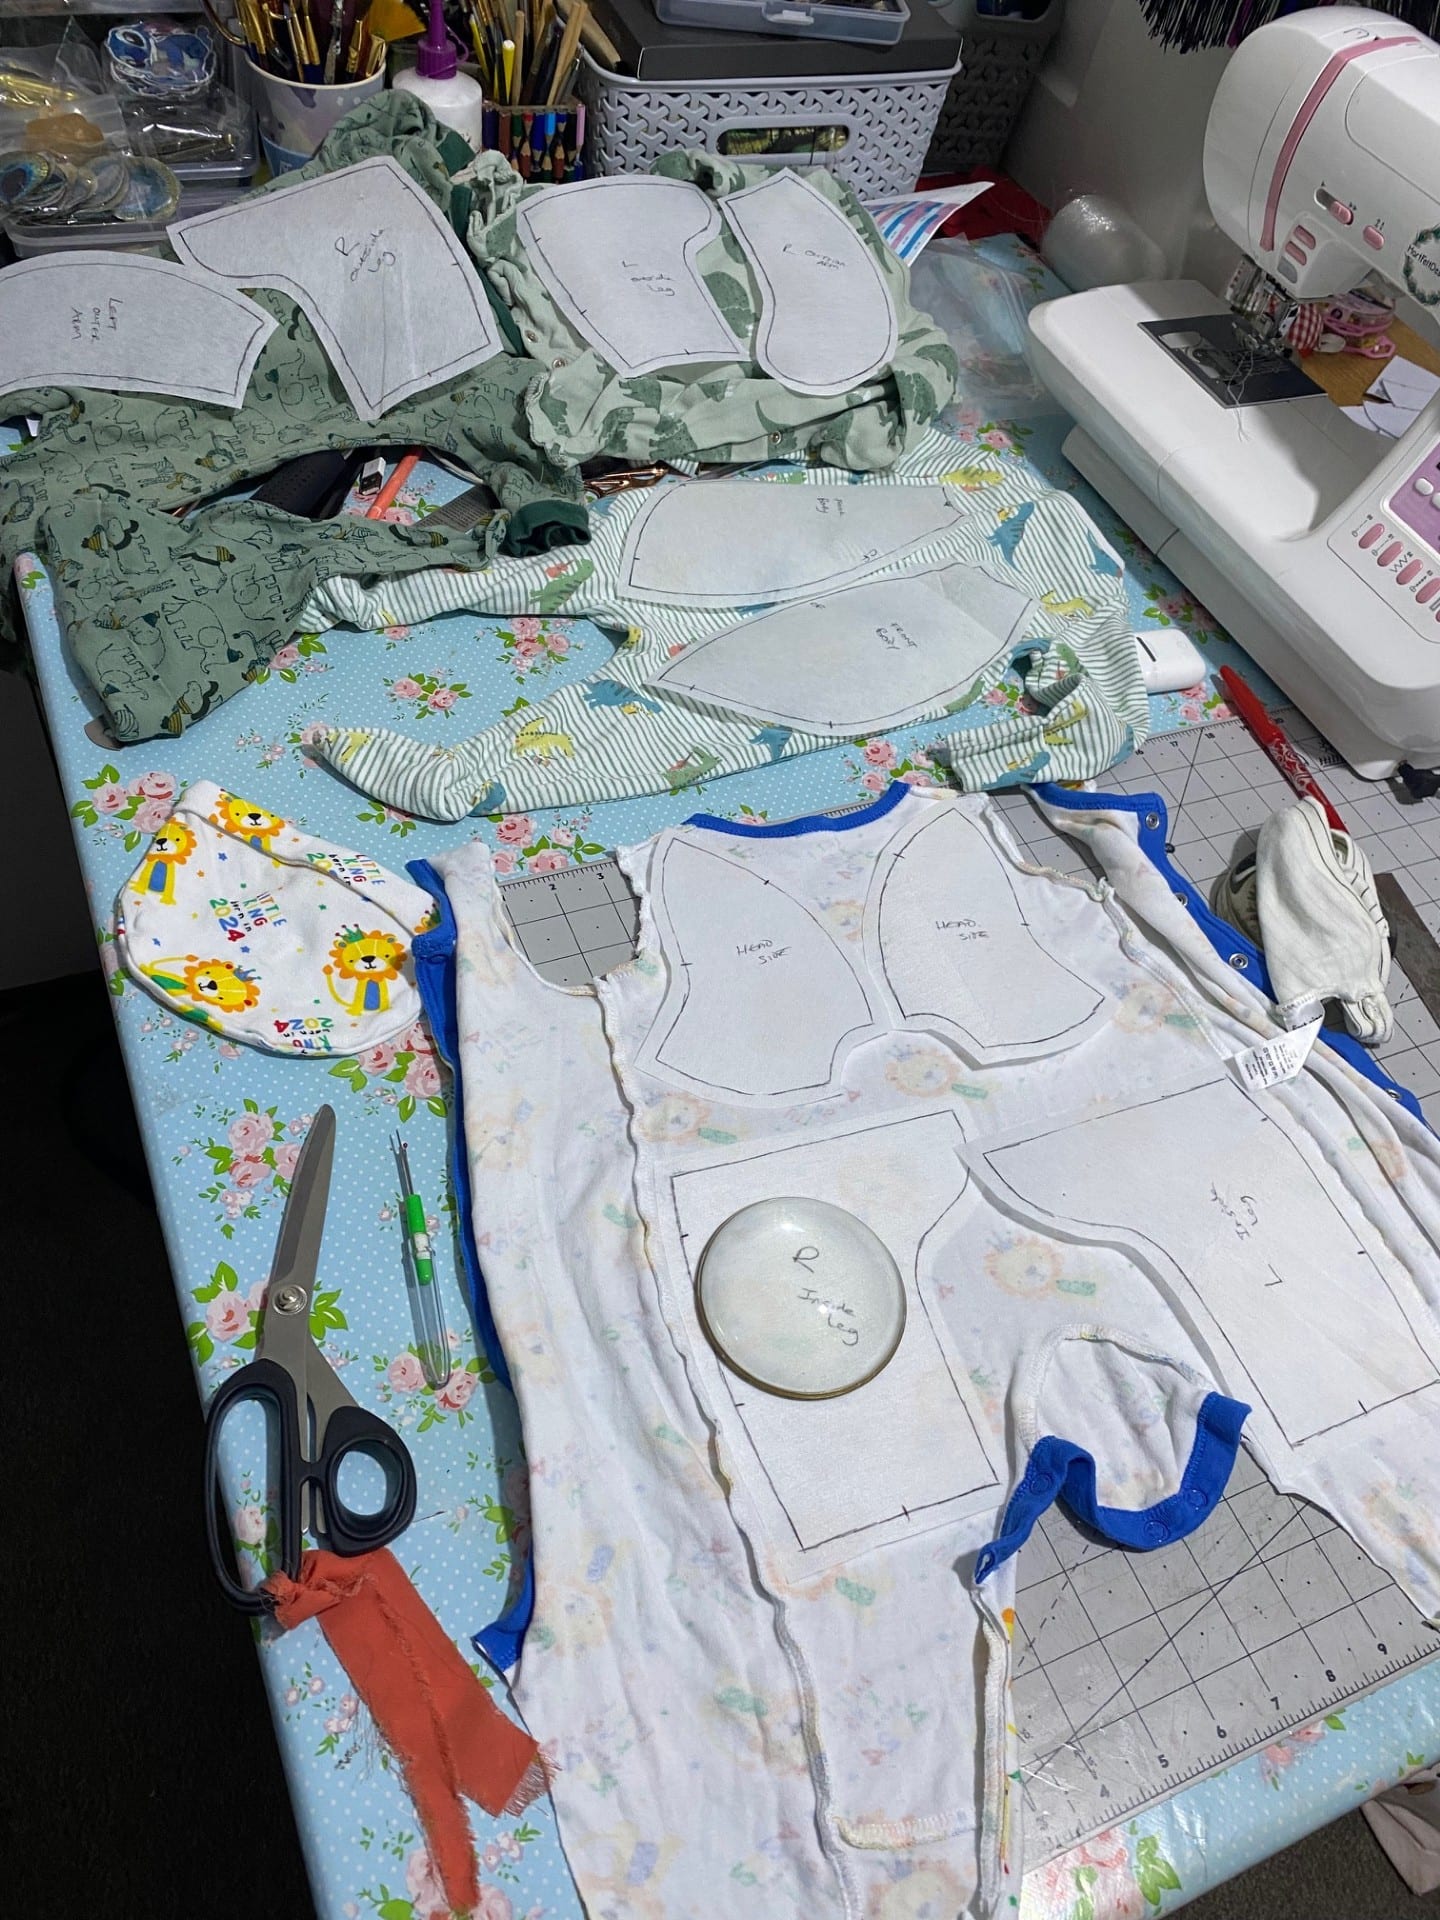
Before cutting anything, it’s essential to plan how the garments will be used across the pattern pieces.
Take time to:
Decide which prints and colours will appear on each part of the bear
Balance the print and colours so the design looks intentional and harmonious
Check the direction of any printed motifs
Check there's enough fabric for every pattern piece
Unlike regular sewing projects, memory bears are often made from a limited amount of sentimental material. If a mistake is made, there may not be extra fabric available to fix it. Carefully planning the layout beforehand helps avoid any surprises later.
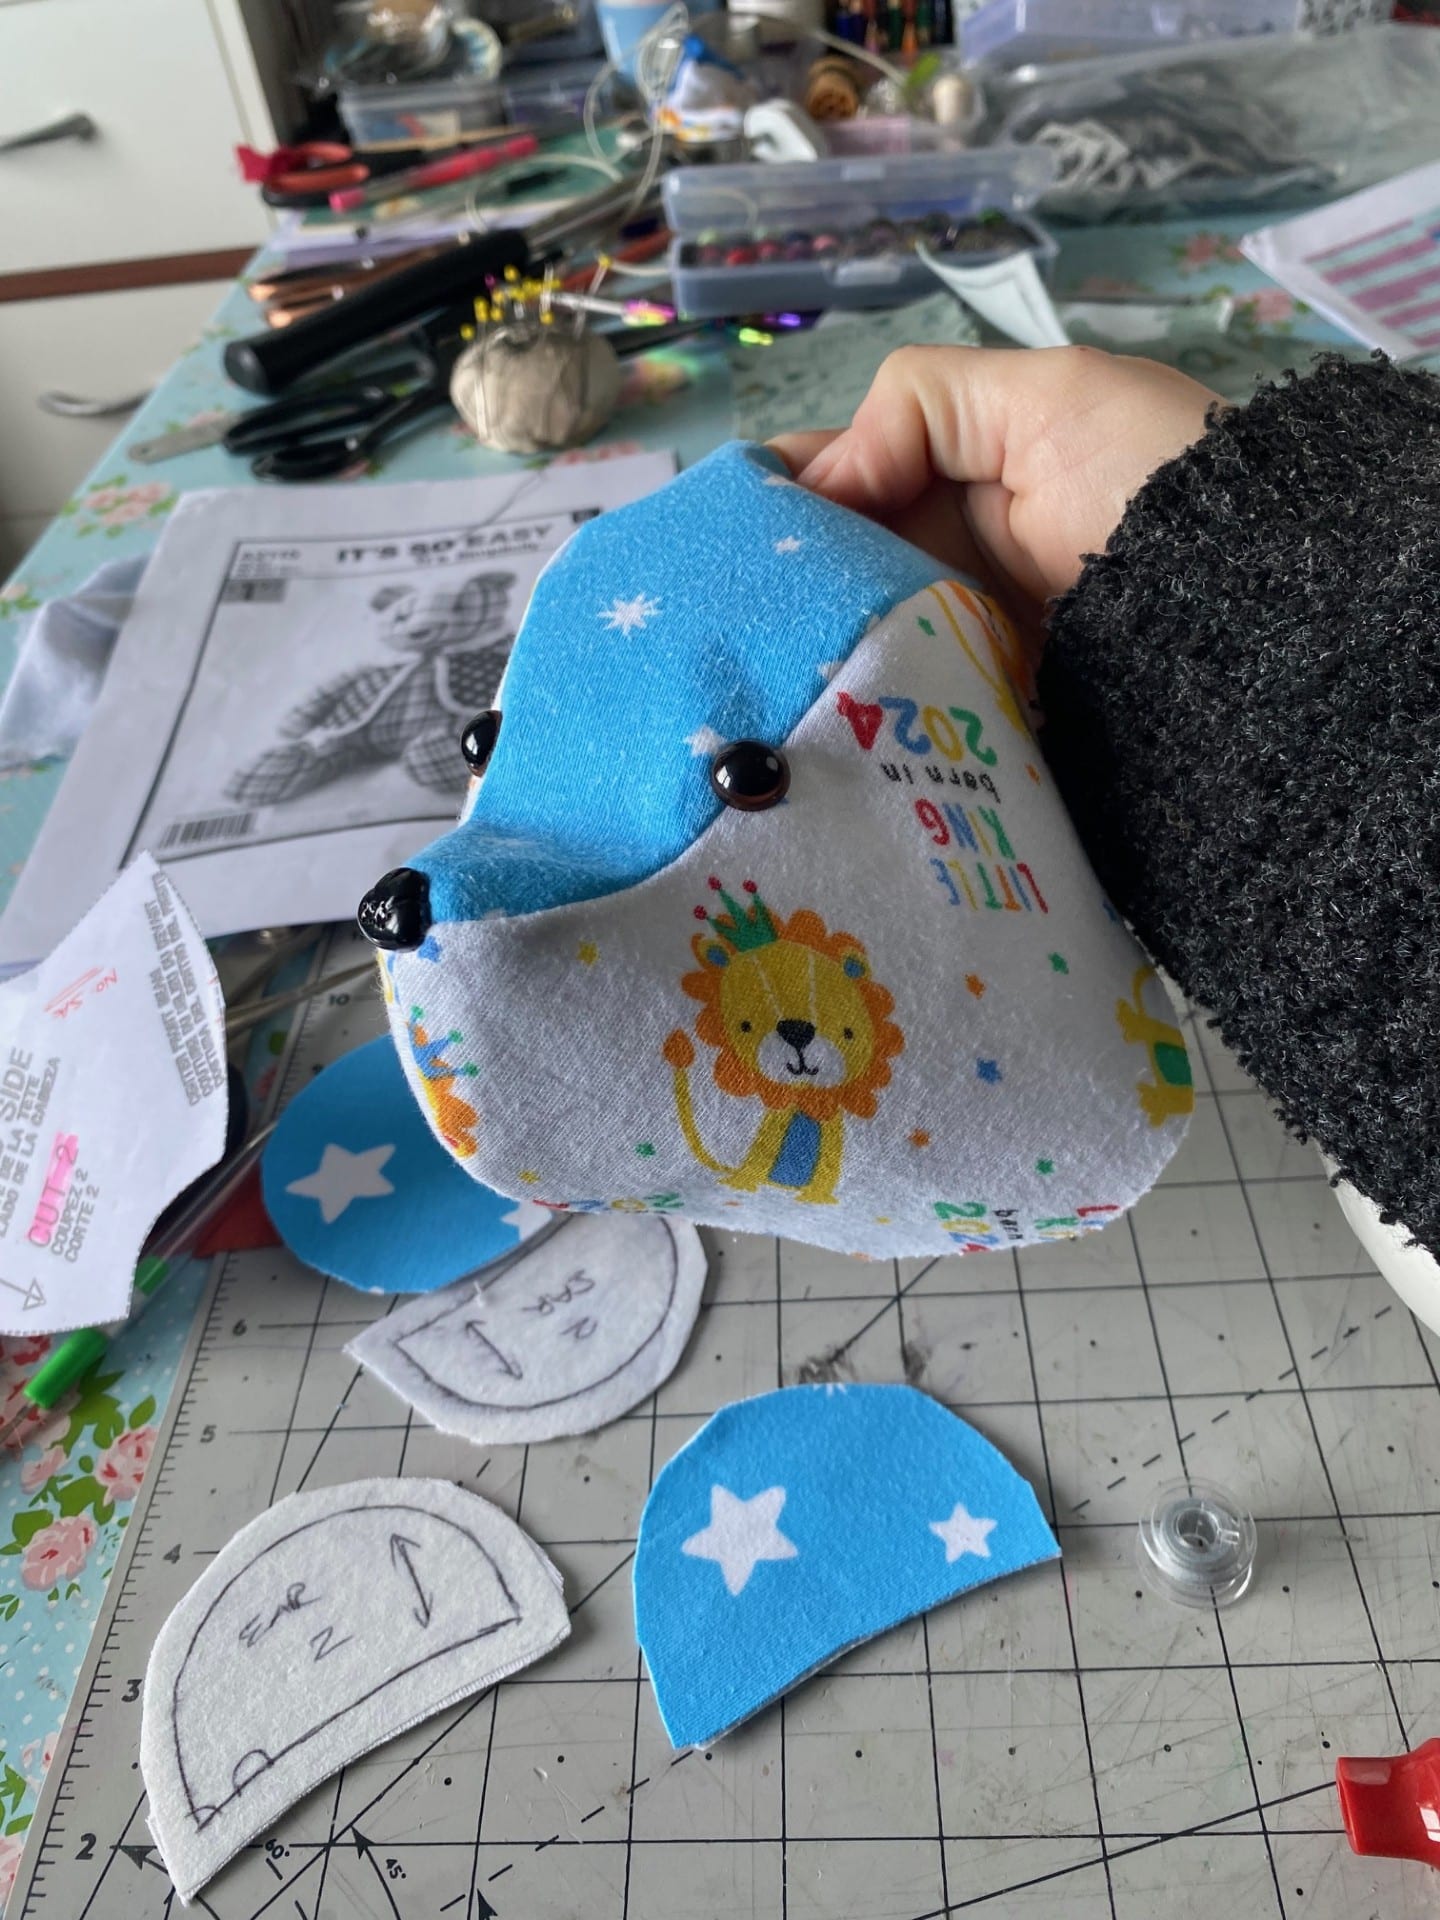
Cutting and Construction
Once all the pattern pieces are ready, ensure all marked and labelled on the reverse. All those limb pieces can look very similar, so to avoid any confusion or mistakes - label as you go, you'll thank yourself later! The bear can then be constructed by following the pattern instructions step by step.
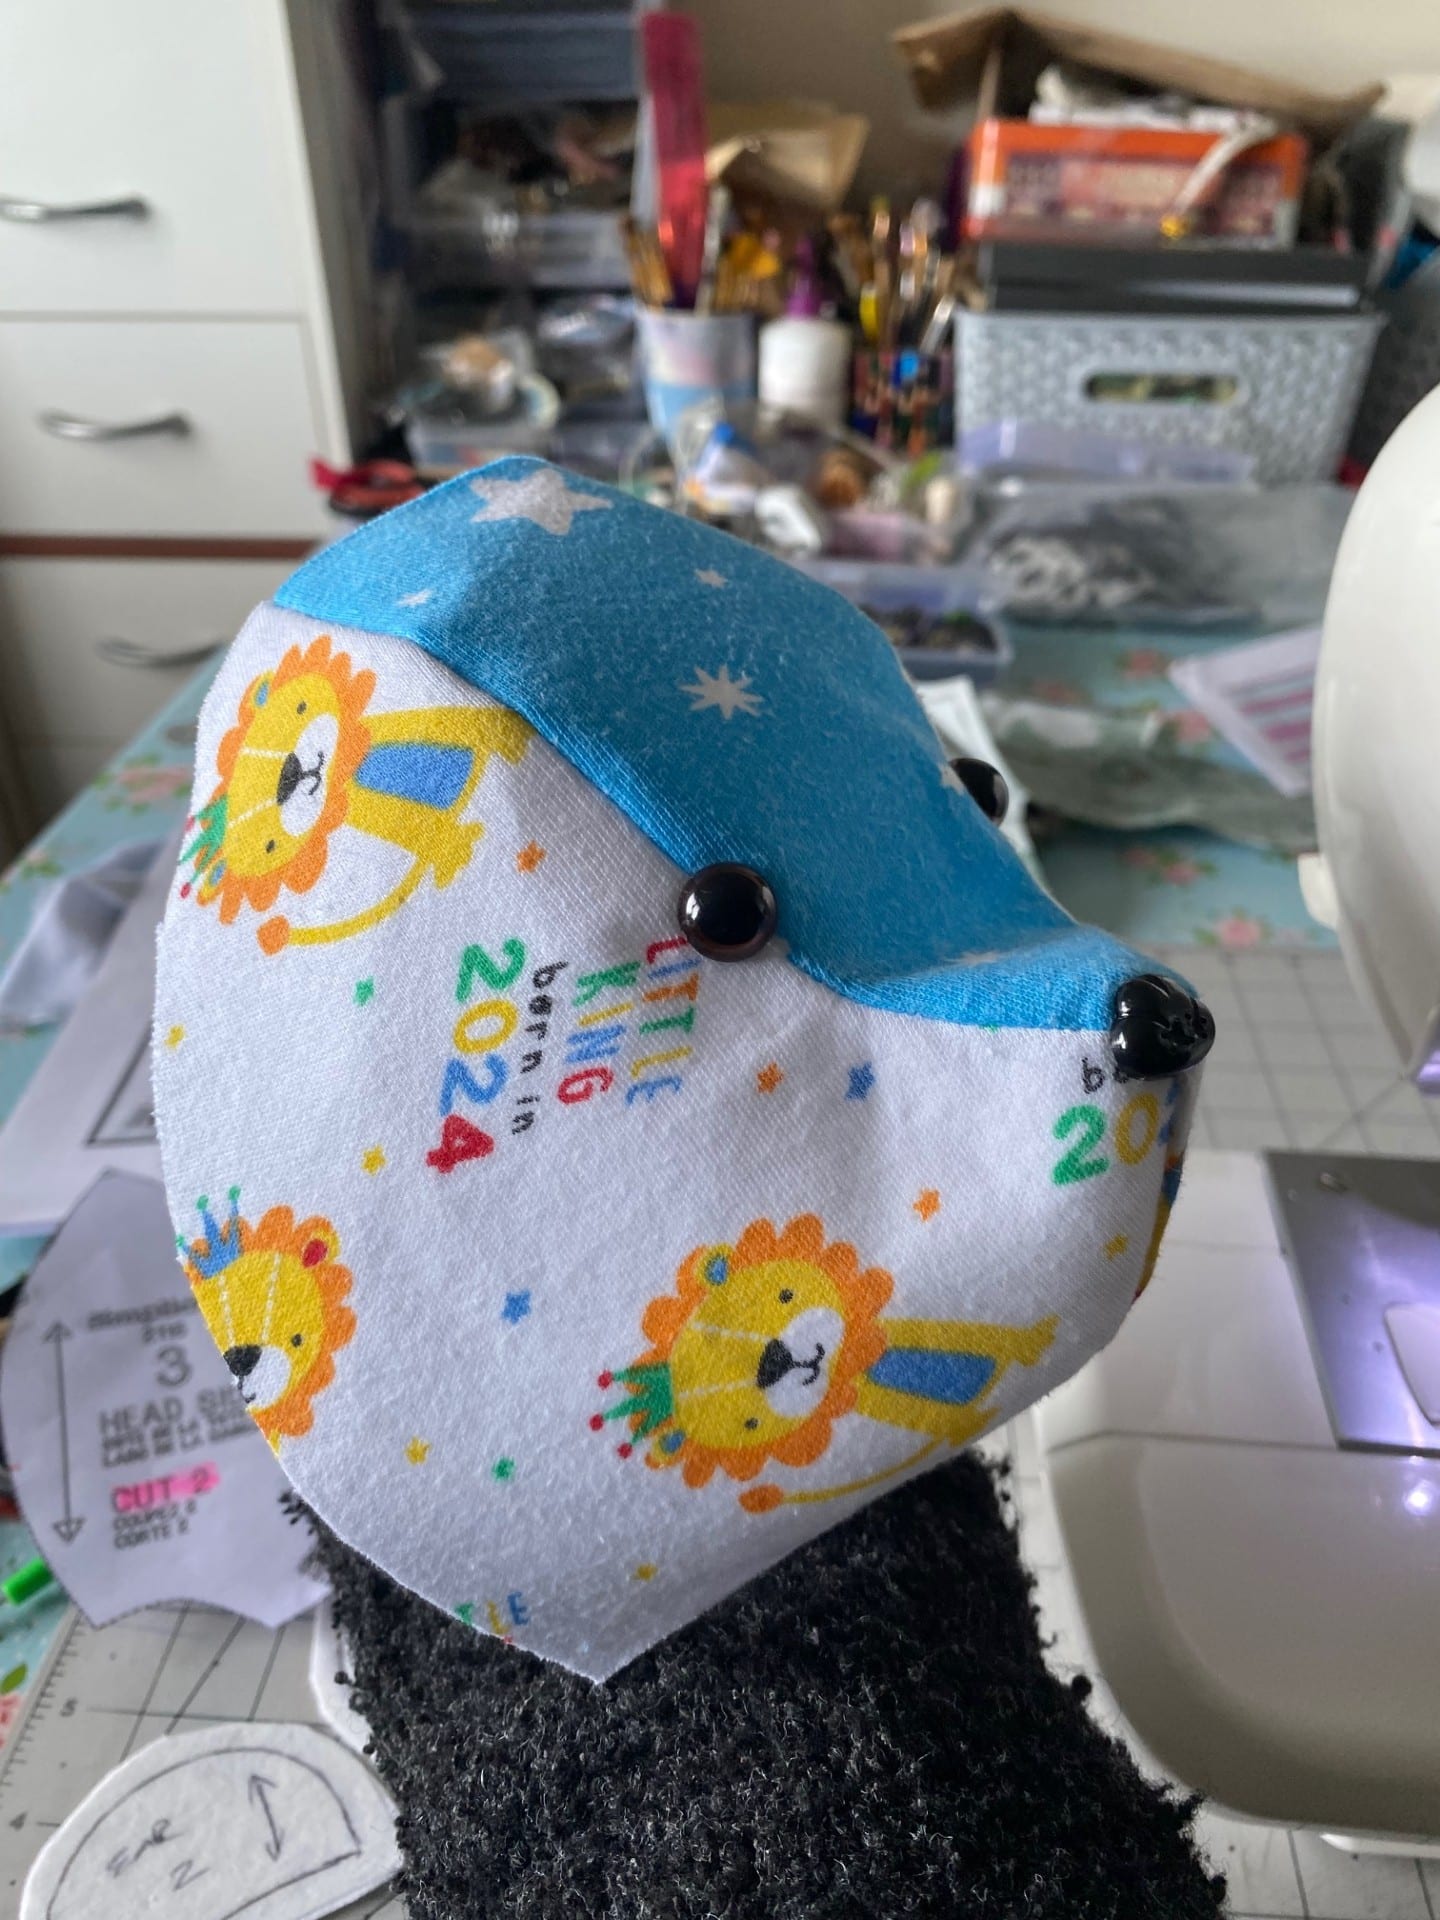
The head, arms and legs are usually sewn and stuffed first, before moving on to the main body.
Safety eyes and the nose should be inserted at the stage recommended in the pattern, before the head is fully closed.

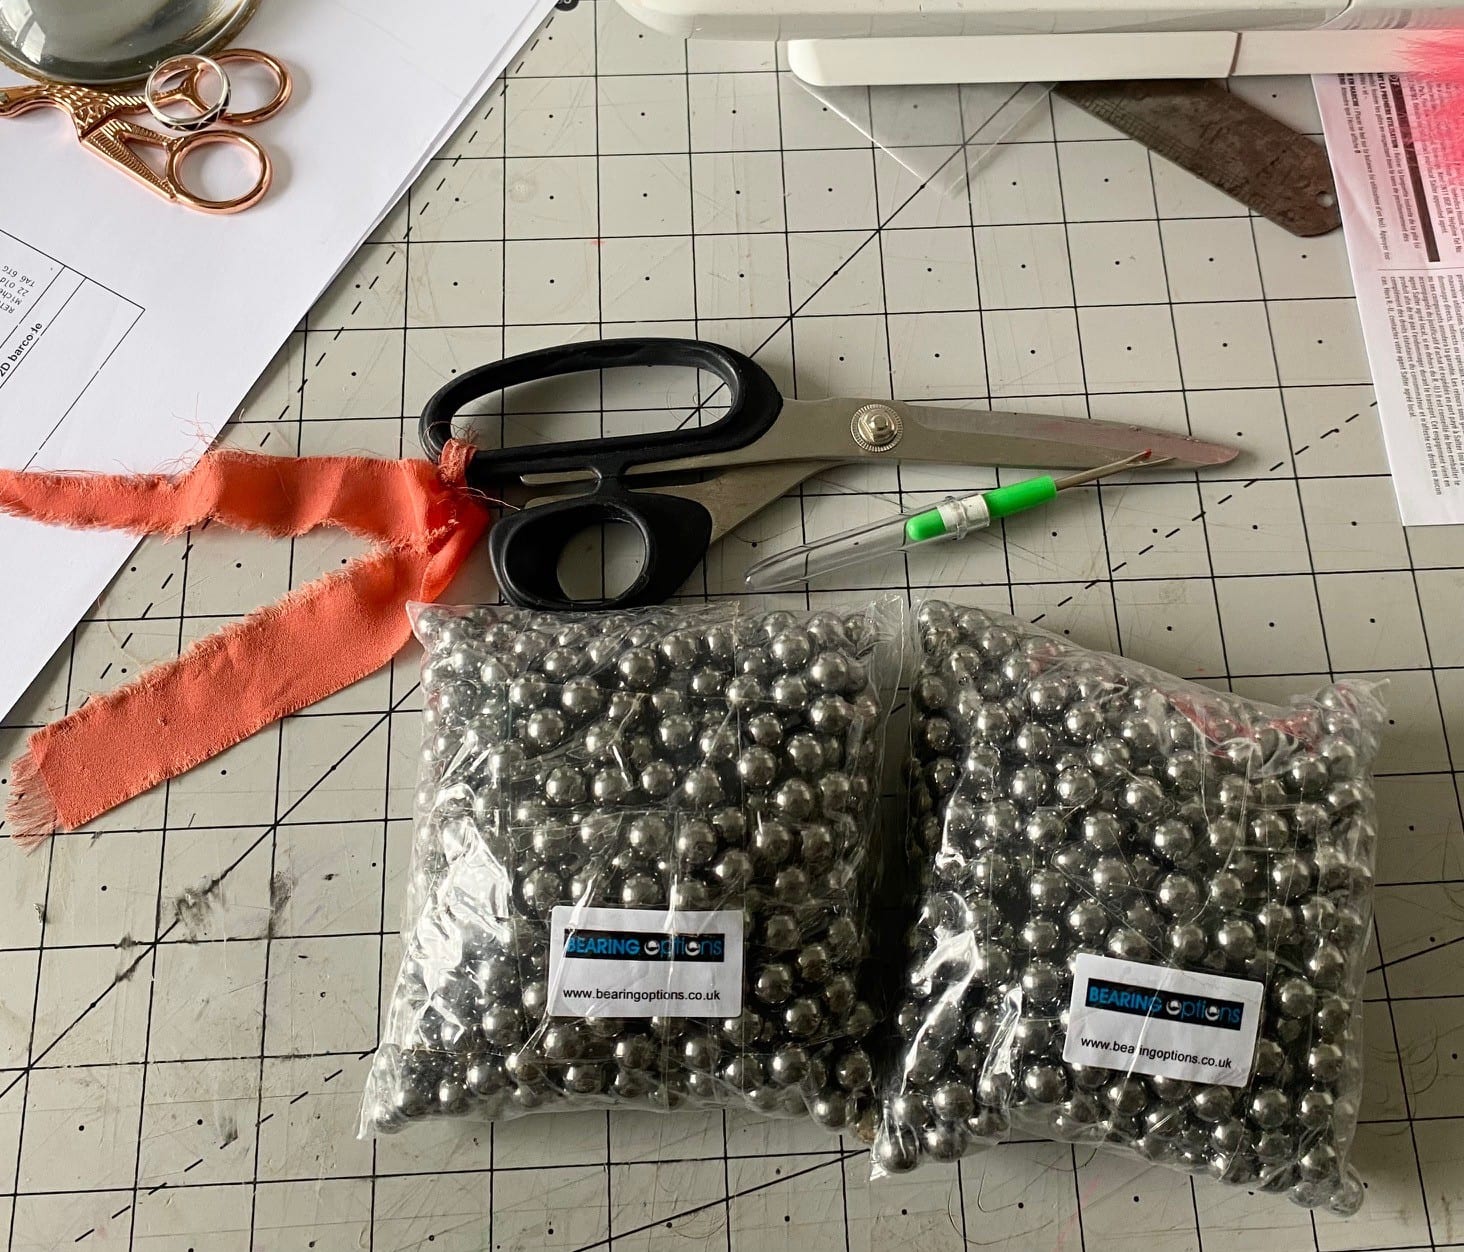
Adding Weight to the Bear
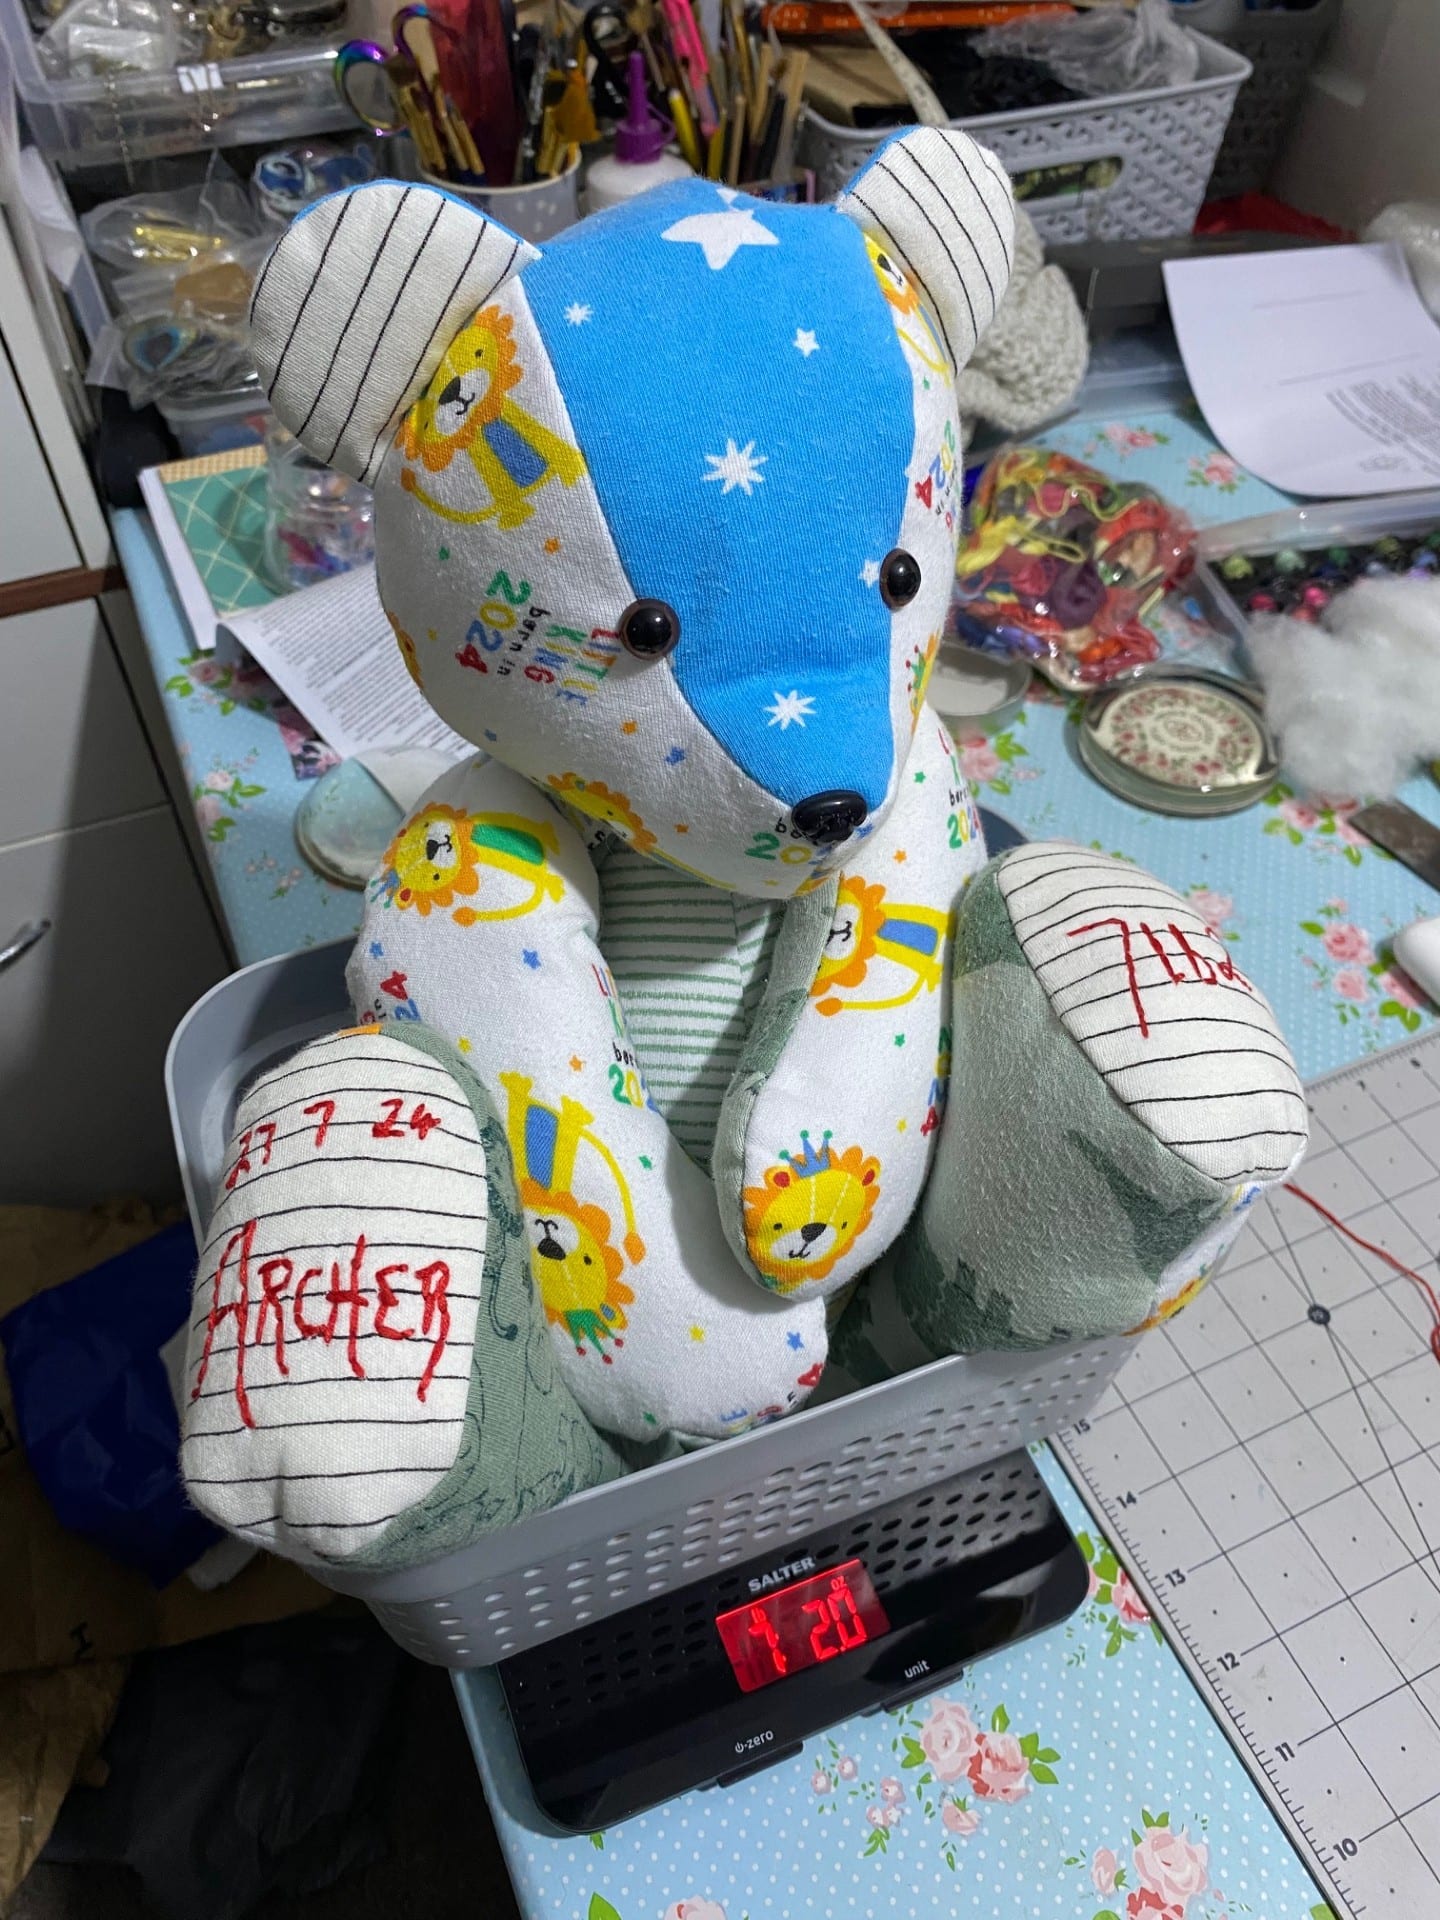
When it comes time to fill the body, some memory bear makers choose to add weight to the bear. In some cases, the bear is weighted to match the child’s birth weight, adding another meaningful detail to the finished keepsake.
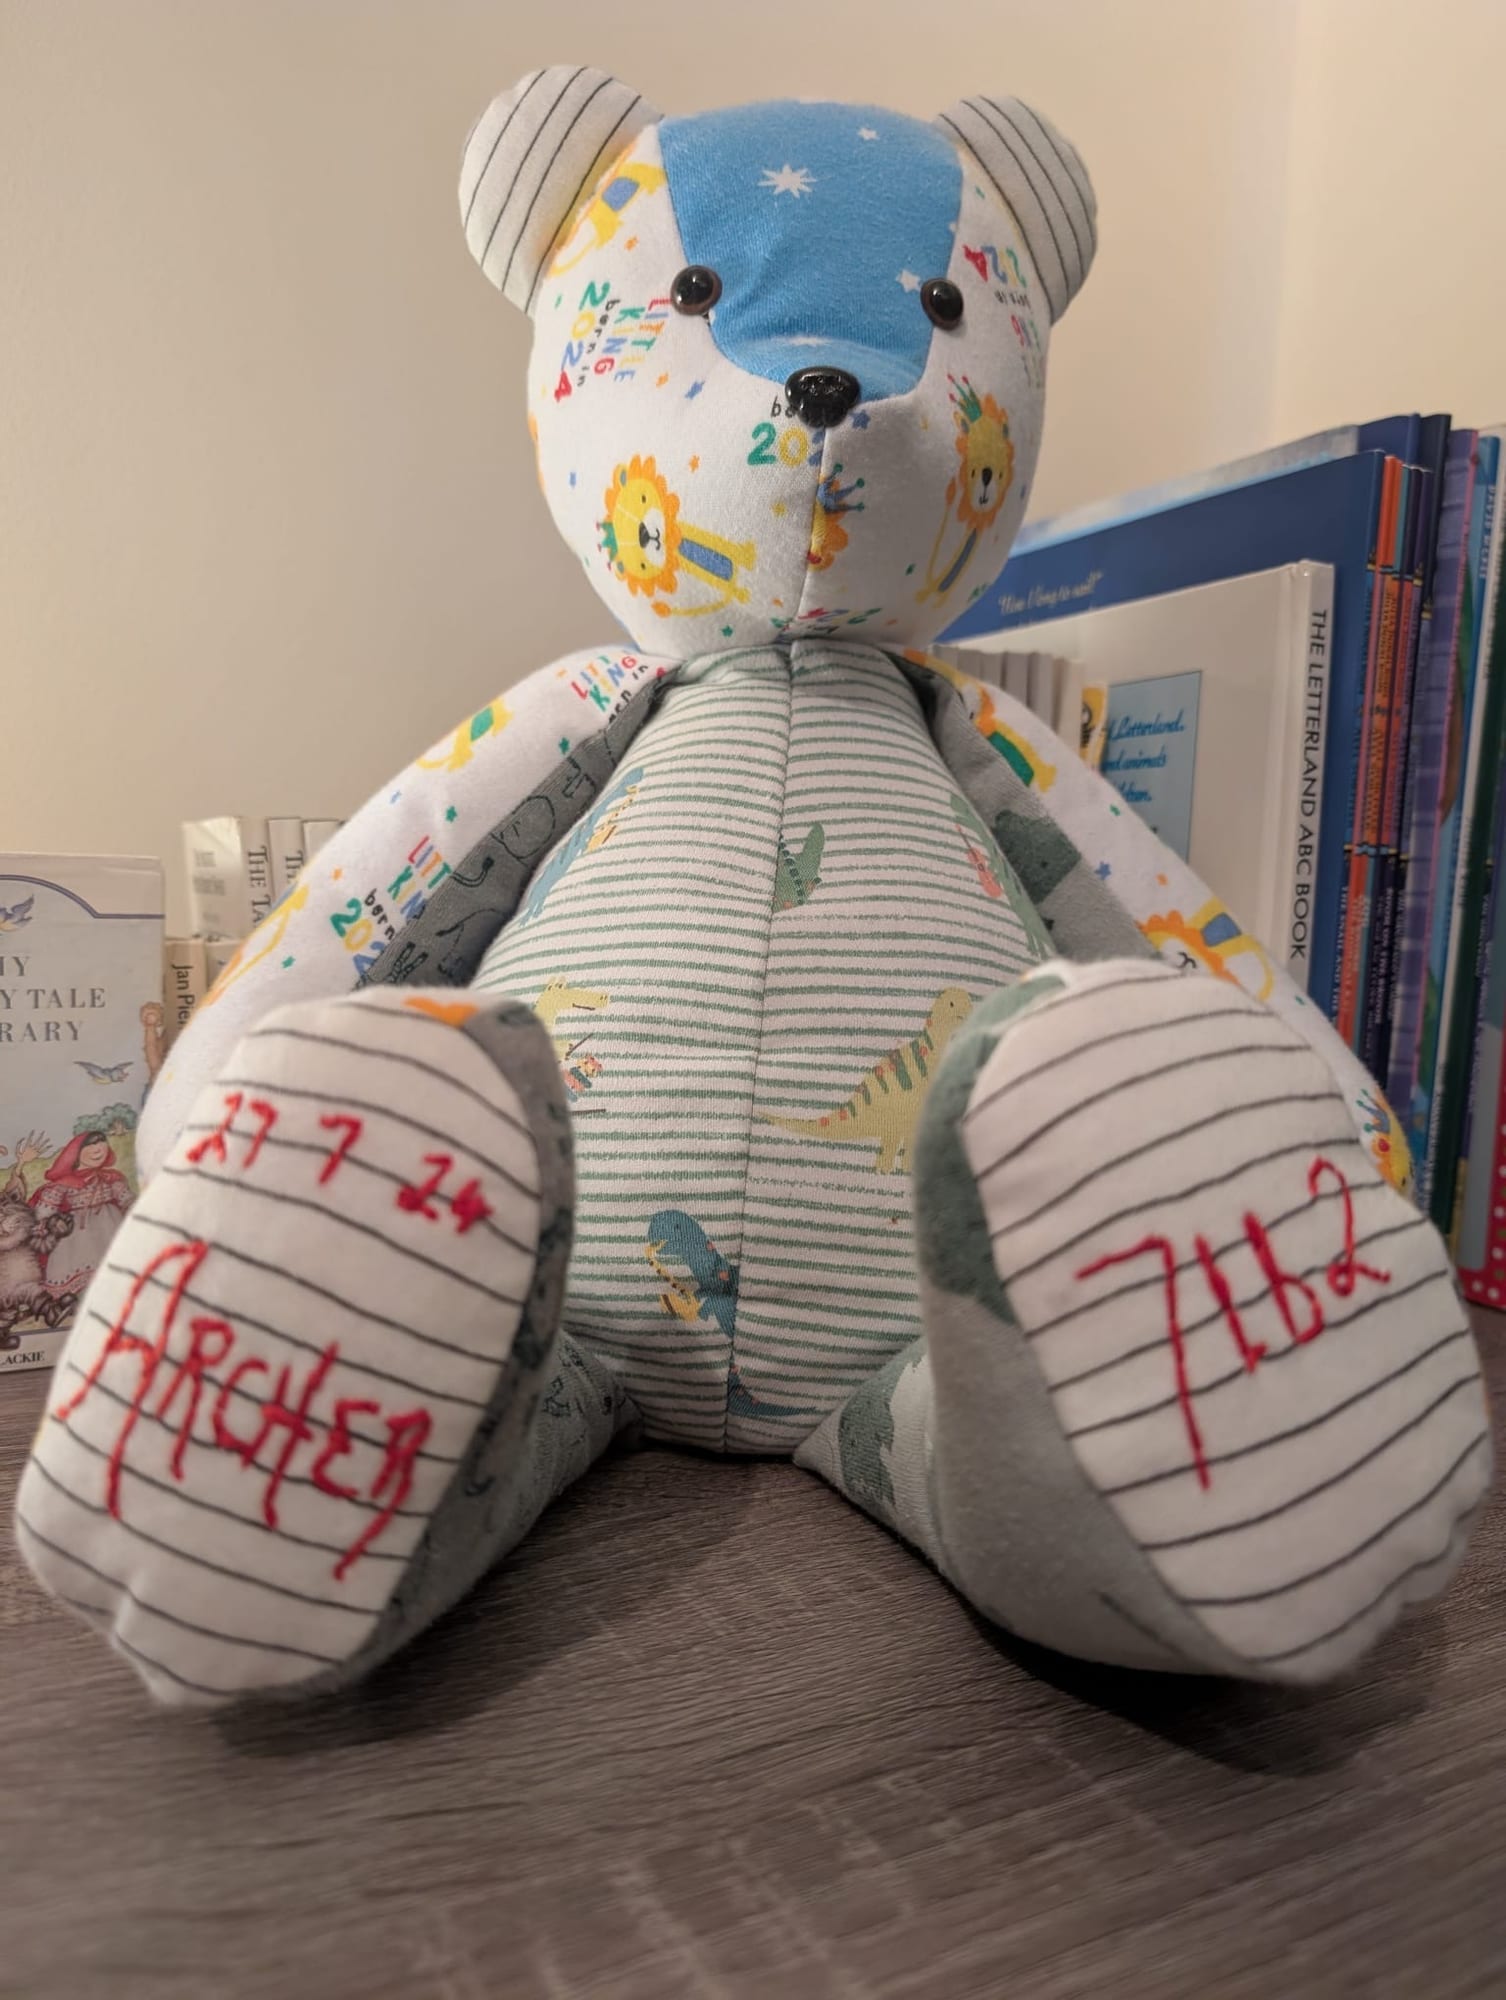
In this example, the bear was weighted to 7lbs 2oz using steel shot. Two bags were ordered online, costing nearly £40, so it’s worth shopping around and comparing different weighting options.
To add the weight:
Make a small fabric pouch for the steel shot.
Leave a small opening at the top so individual balls can be added/removed.
Fill the pouch and place it inside the bear’s body.
Add stuffing around it.
Weigh the bear as you go, adjusting the balance of stuffing and steel shot until the desired weight is reached. Hand sew the pouch closed.
Once the correct weight is achieved, the centre back seam of the bear can be closed.
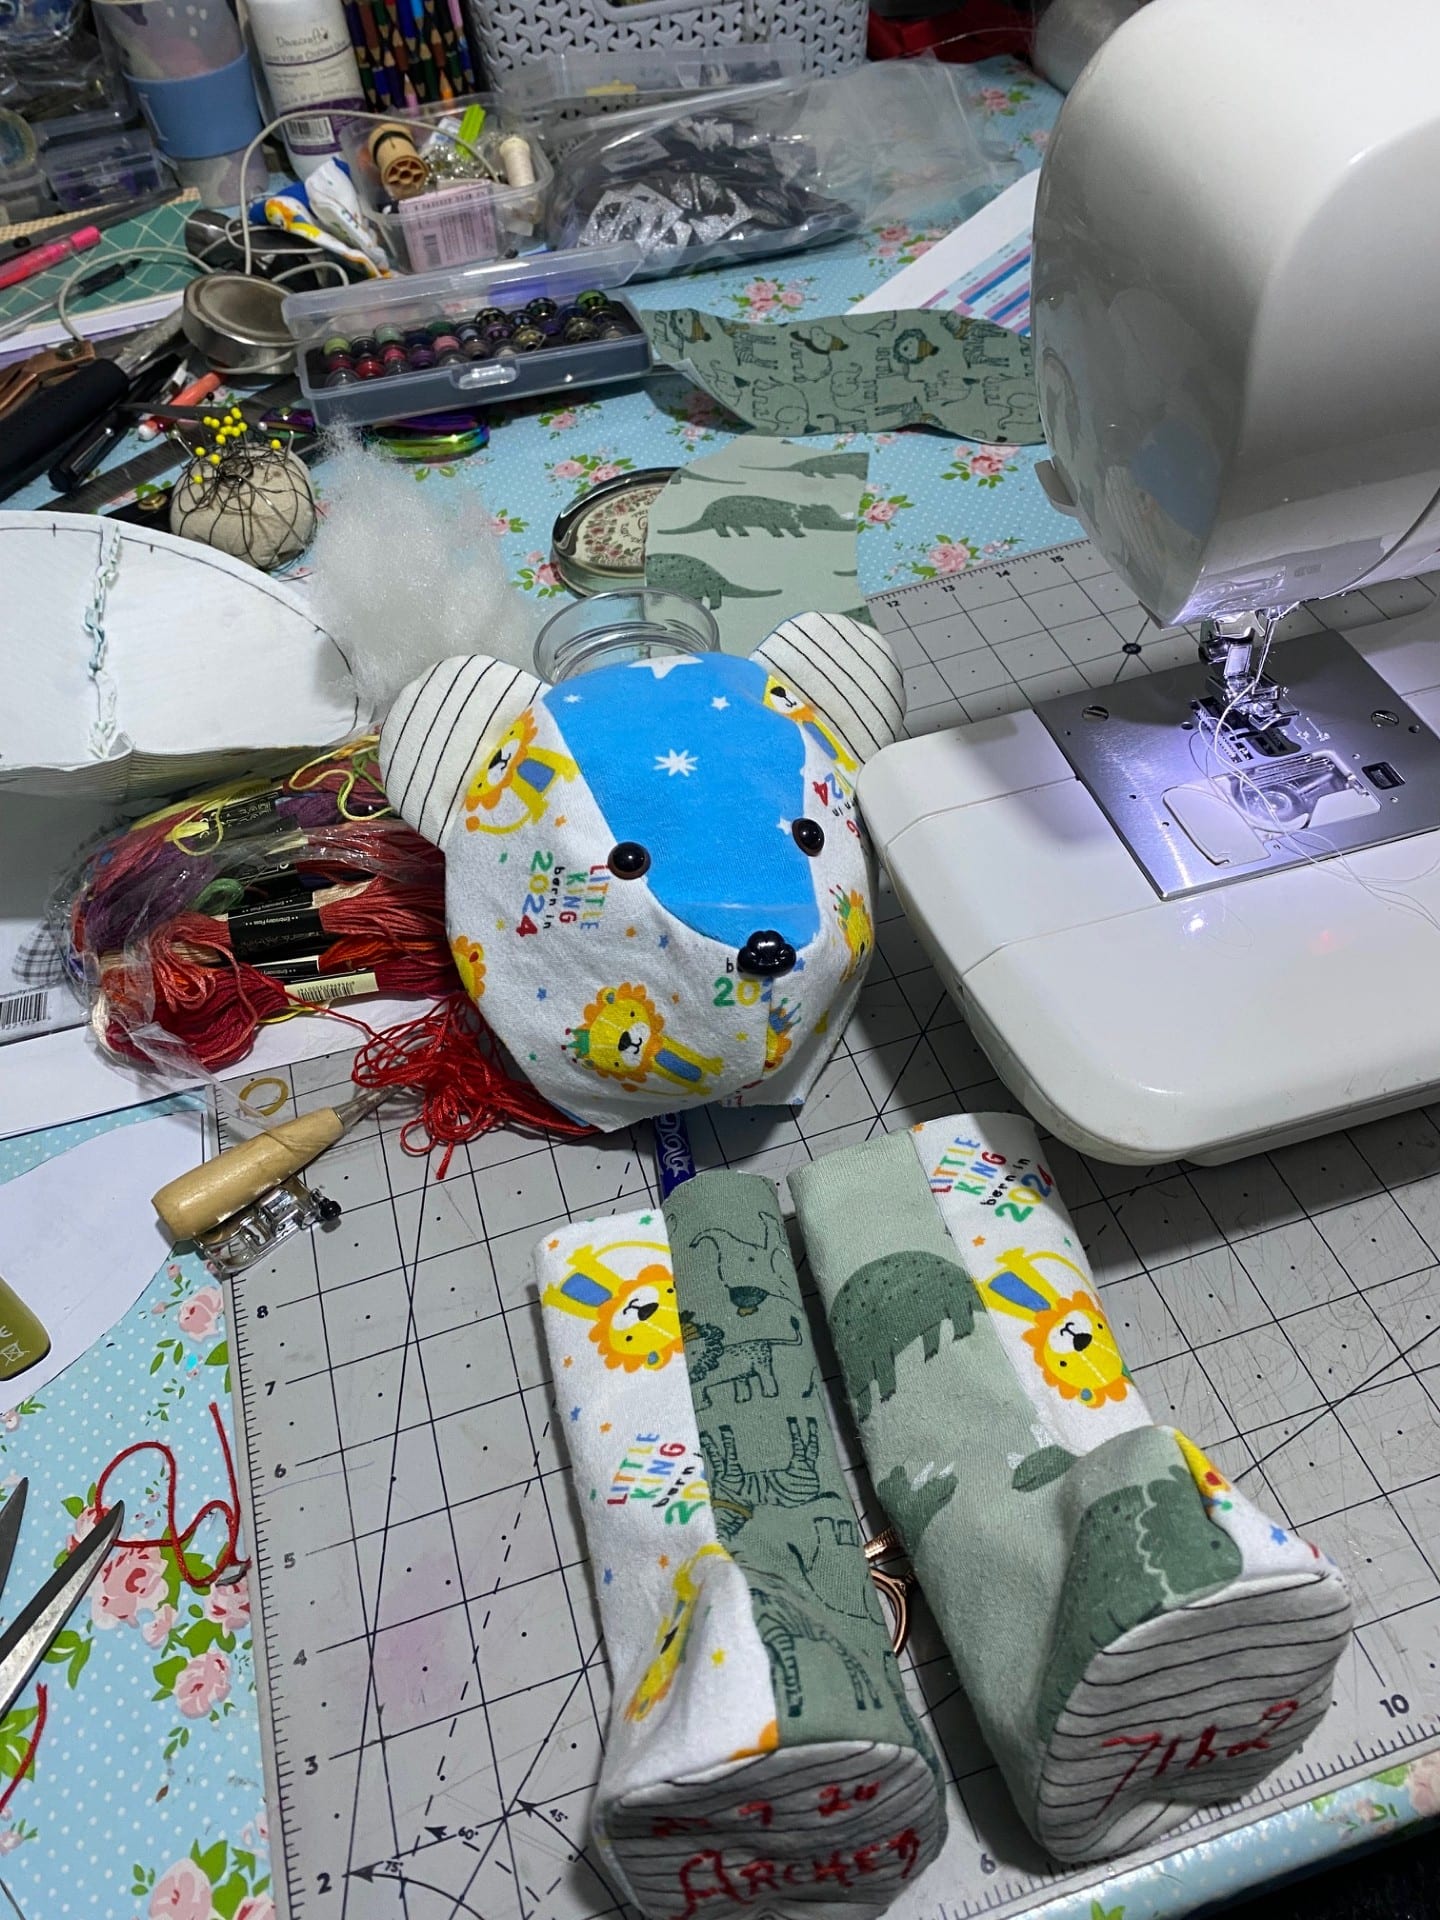
Personal Finishing Touches
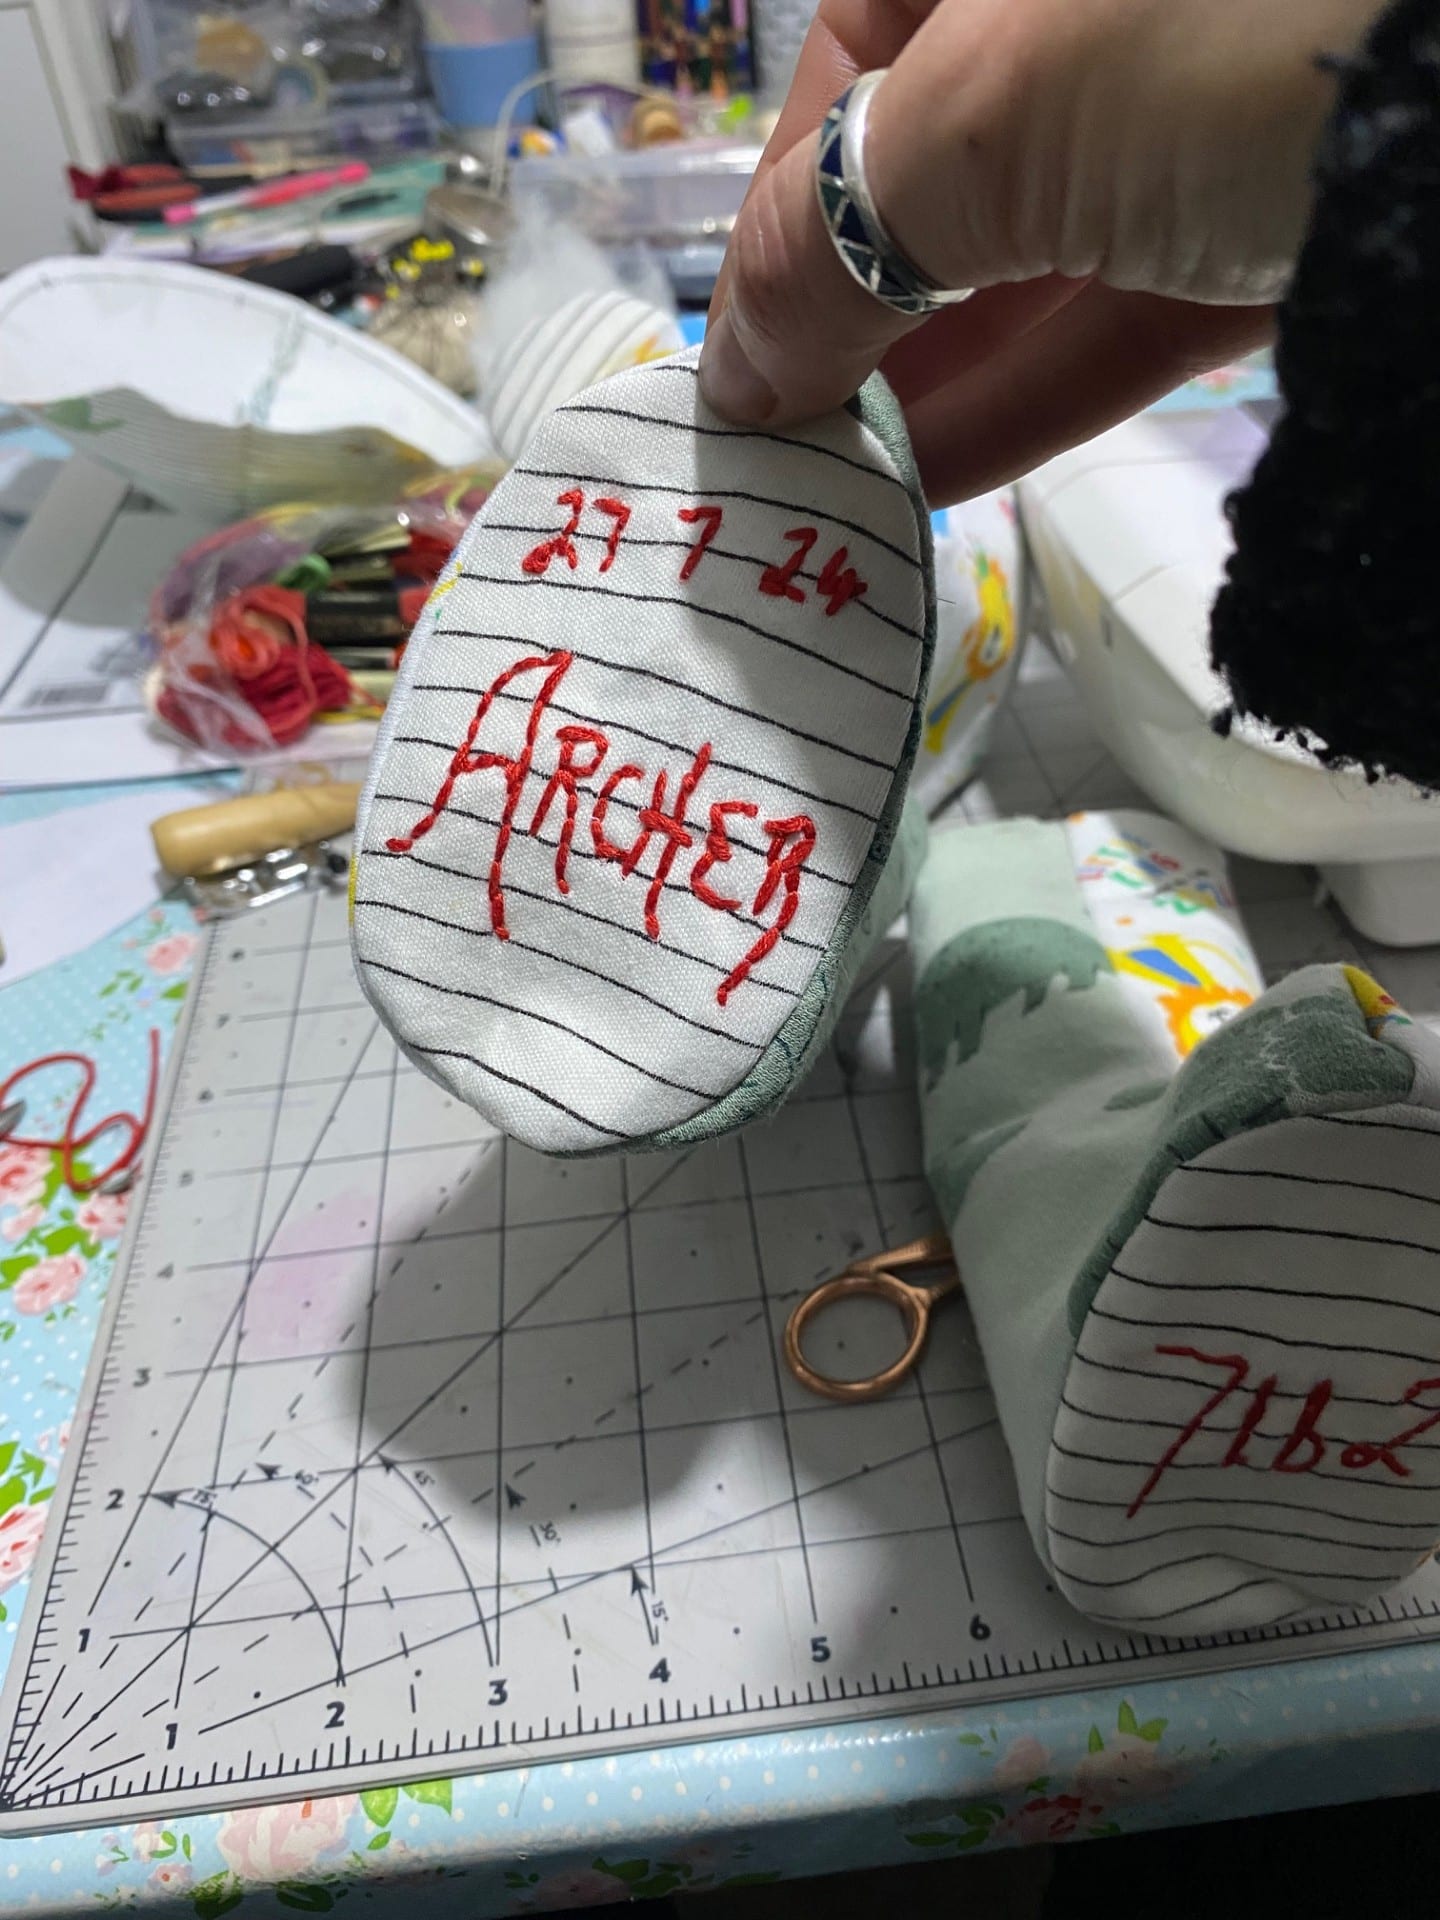
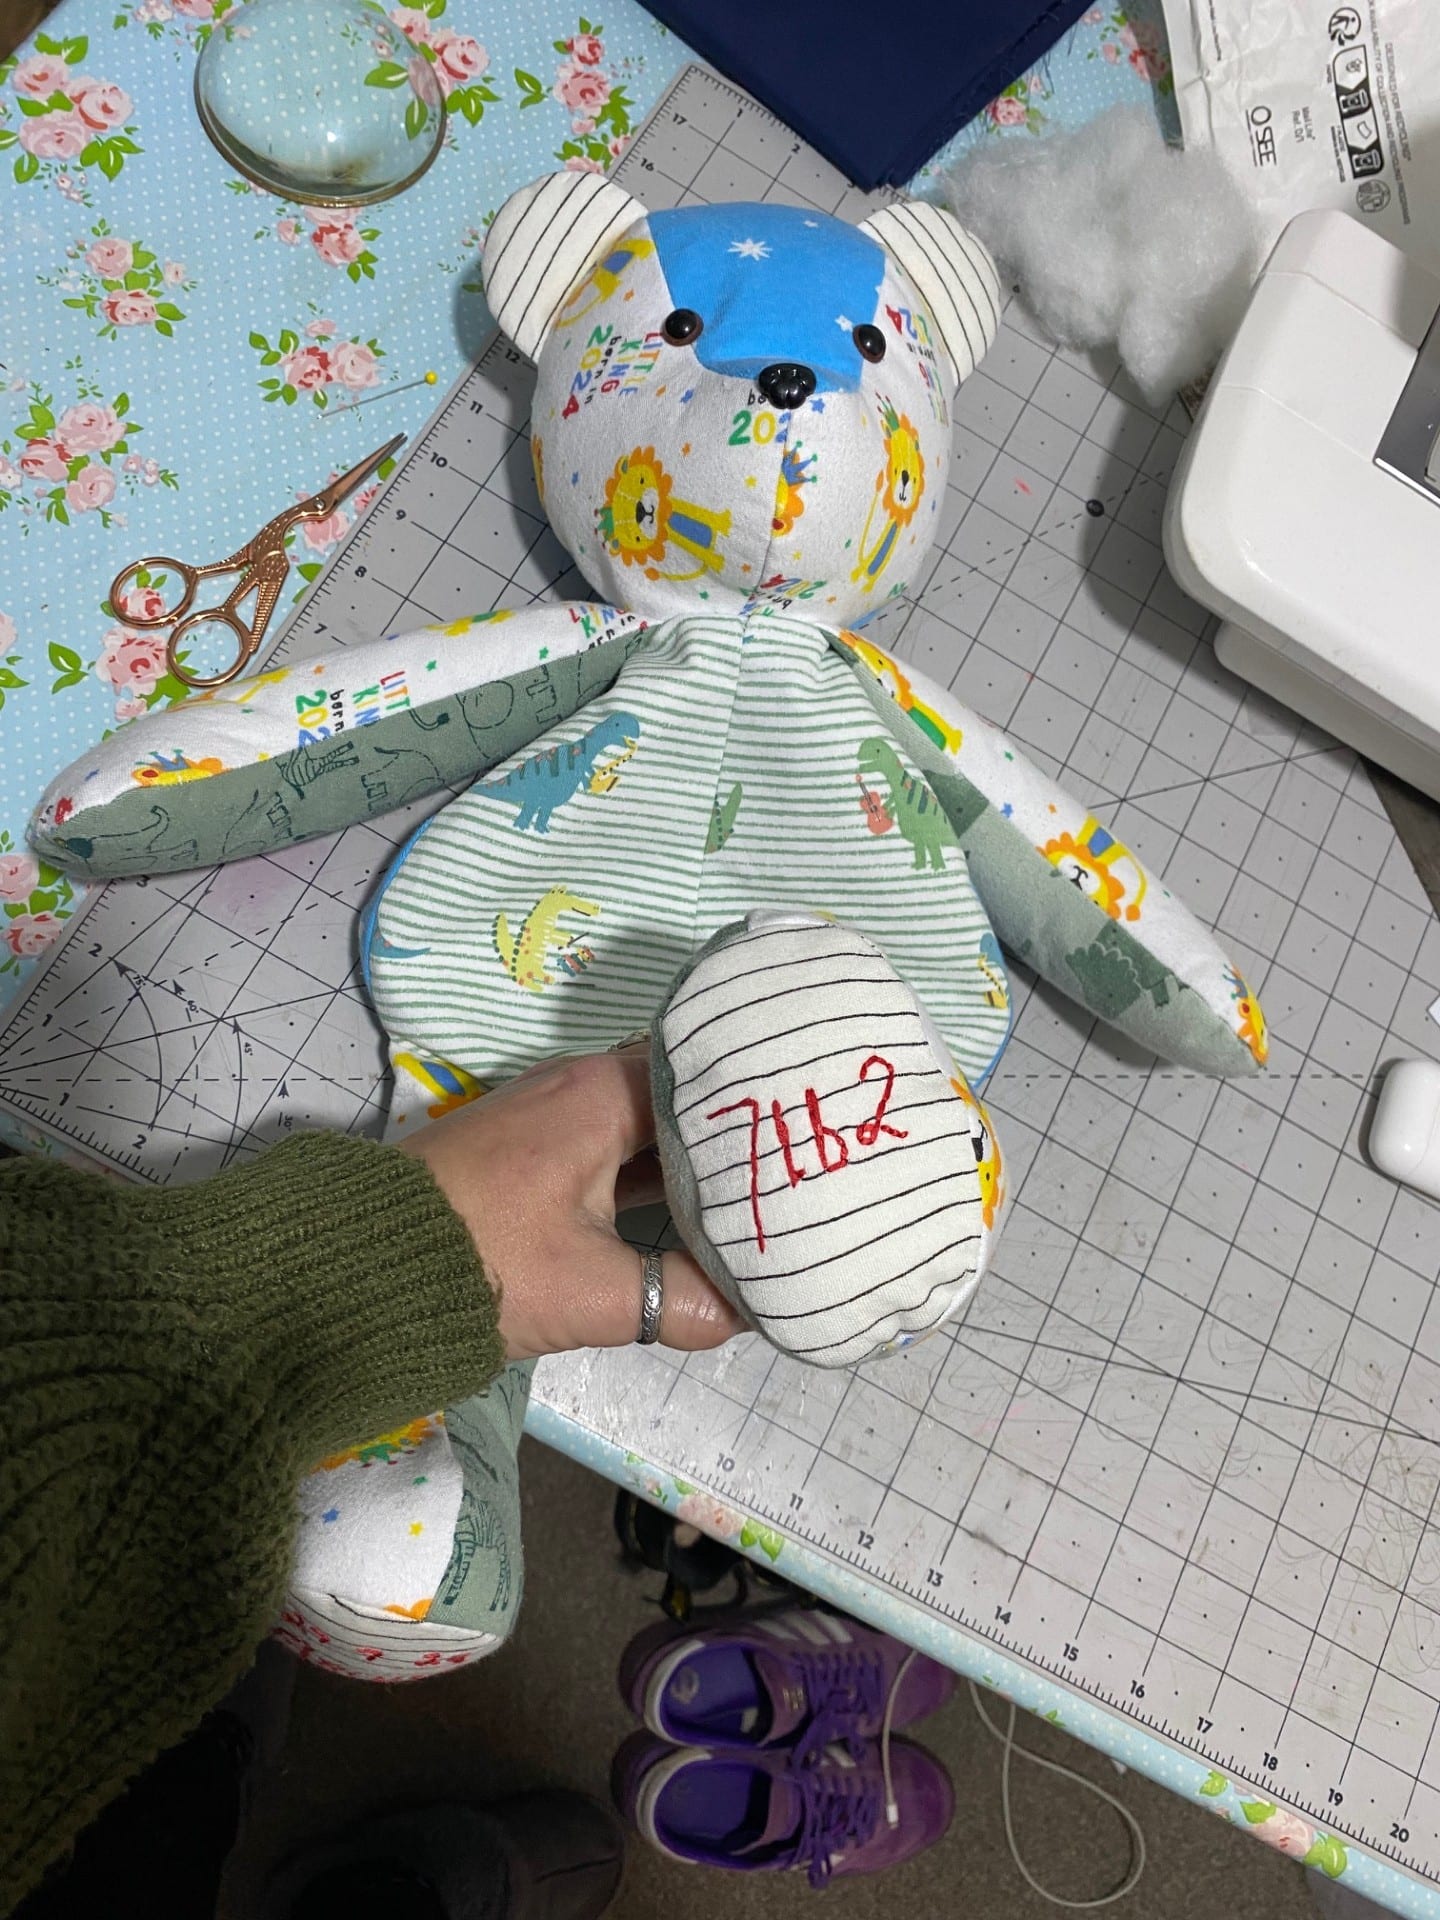
Personal details make memory bears even more special. For this bear, the child’s name and birth date were hand embroidered onto one foot, with the birth weight embroidered on the other.
Small touches like this turn the bear into a truly personal keepsake.
A Bear Full of Memories
Memory bears are more than just sewing projects. They’re a way of preserving important moments and turning meaningful fabrics into something tactile, comforting and lasting.
Whether made from babygrows, school uniforms or clothing from loved ones, each memory bear carries its own story.